
Starting in a lab: basic techniques to learn
Are you about to start in a lab, but want to be prepared? We got you! Whether you are a student starting your journey in the lab or an aspiring researcher seeking to enhance your skills, mastering basic laboratory techniques is essential. In this guide, we will provide step-by-step instructions for three fundamental laboratory techniques: pipetting, preparing solutions, and working with microorganisms. These basic techniques are applicable to almost all fields, but are used especially when working in life science.
1. Pipetting:
Pipetting is the art of accurately transferring small volumes of liquid. It is crucial for performing experiments that require precise measurements.
Step 1: Familiarize with Pipette Types: Understand the types of pipettes available, such as single-channel and multi-channel pipettes, and ensure they are calibrated and in good working condition.

Step 2: Assemble the Pipette: Attach the appropriate disposable pipette tip to the pipette shaft, making sure it fits securely.
Step 3: Set the Volume: Use the volume adjustment dial to set the desired volume, ensuring it matches your experimental needs. All pipettes, since they’re in small volumes, will be in microliters (uL).
Step 4: Pipette Liquid: There are two “stops” in a pipette, which you will be able to feel. Press the plunger to the first stop, then slowly release to draw up the liquid into the pipette. Place the tip into the destination container and slowly press down the plunger to dispense the liquid. Pressing down the second stop will allow any extra liquid still stuck in the pipette to come out.
Step 5: Eject the Tip: Press the plunger on the other side of the pipette to dispose of the used pipette tip into a designated waste container, being careful not to contaminate other surfaces.
Remember: pipette tips are sterile, which means that if you accidentally touch a surface that’s not your solution or designated container, then you must discard the pipette and use a new one.
2. Preparing Solutions:
Accurate and precise preparation of solutions is critical for reproducible experimental results.
Step 1: Gather Materials: Assemble all necessary materials, including the solute (solid or liquid to be dissolved), solvent (liquid in which the solute is dissolved), and appropriate containers.
Step 2: Calculate Amounts: Calculate the amounts of solute and solvent needed based on the desired concentration and final volume of the solution. Concentration/molarity calculations usually use the concentration formula:
C1V1=C2V2
Step 3: Weigh or Measure Solute: Weigh the solid solute using an analytical balance or measure the liquid solute using a graduated cylinder or pipette.
Step 4: Mix Thoroughly: Add the solute to the solvent in the appropriate container and mix thoroughly using a magnetic stirrer, vortex mixer, or by swirling the container.
Step 5: Adjust pH or Volume (if required): If necessary, adjust the pH or final volume of the solution using appropriate techniques and reagents.
Step 6: Label and Store: Properly label the solution with its name, concentration, and date of preparation. Store it according to the required conditions, such as temperature and light exposure.
3. Working with Microorganisms:
Microorganisms are commonly used in research, and proper handling is crucial to avoid contamination and ensure safety.
Step 1: Sterile Techniques: Master sterile techniques, including proper handwashing, using a Bunsen burner to create a sterile work area, and using sterile equipment and media.
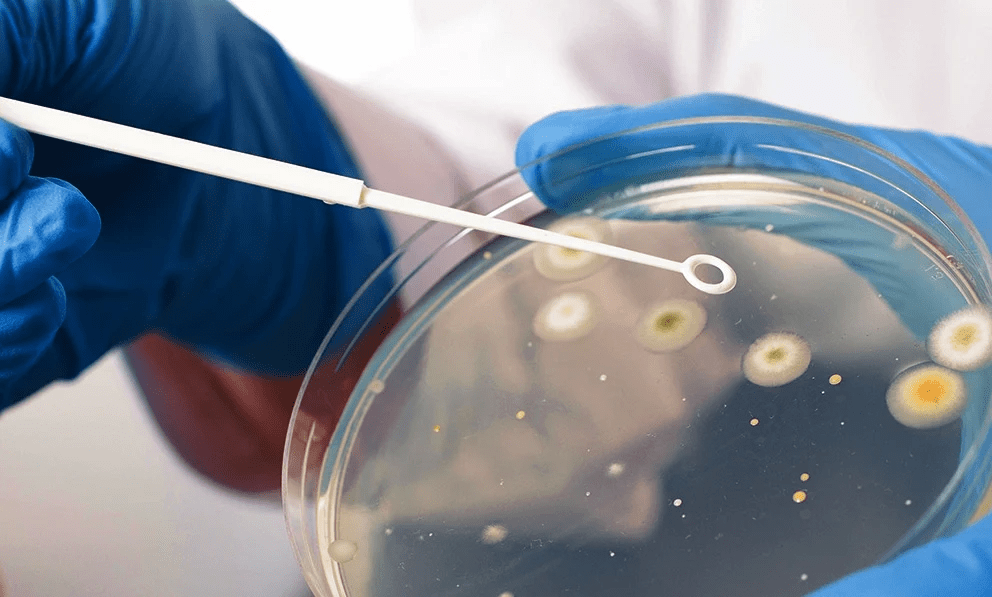
Step 2: Inoculation: Using a sterile inoculating loop or pipette, transfer the microorganism to the appropriate growth medium or experimental setup.
Step 3: Incubation: Place the inoculated medium or experimental setup in an incubator set to the appropriate temperature and conditions for the microorganism’s growth.
Step 4: Monitor Growth: Regularly monitor the microorganism’s growth, observing for any signs of contamination or other irregularities.
Step 5: Proper Disposal: After the experiment, properly dispose of any biohazardous waste, and follow lab safety guidelines for decontamination.
By mastering these basic laboratory techniques, you’ll enhance your research capabilities and ensure accuracy and reproducibility in your experiments. Remember to always adhere to laboratory safety guidelines and consult with experienced researchers or lab staff when learning new techniques! With practice and attention to detail, you’ll build a strong foundation for successful and meaningful scientific research. Goodluck!
